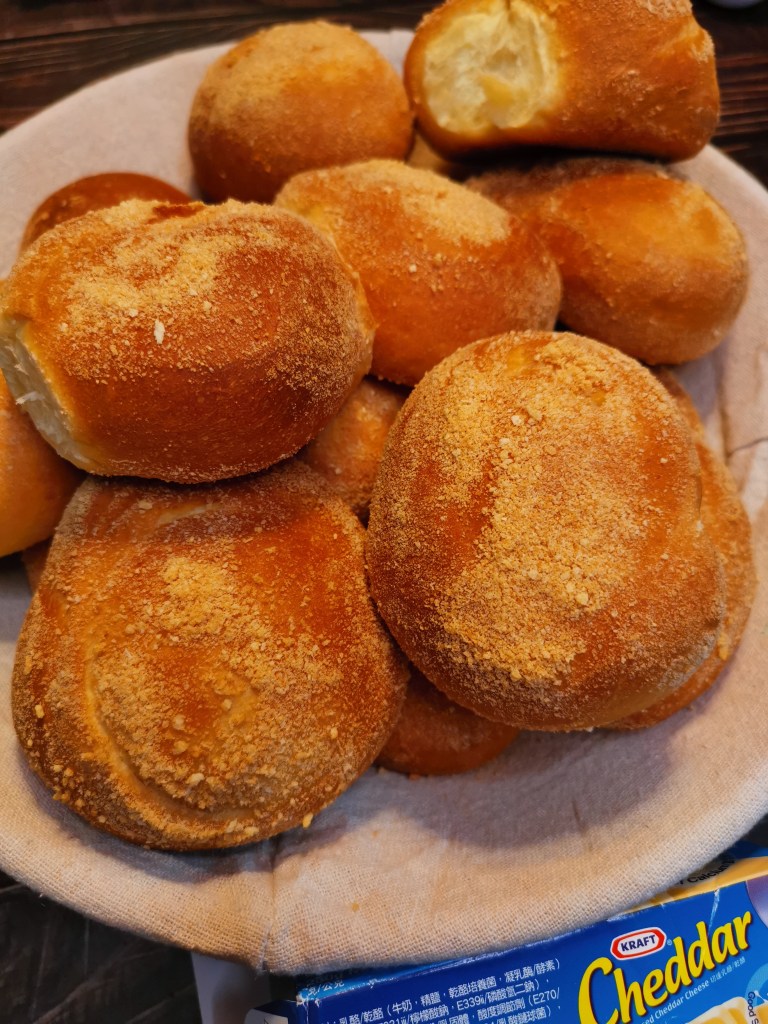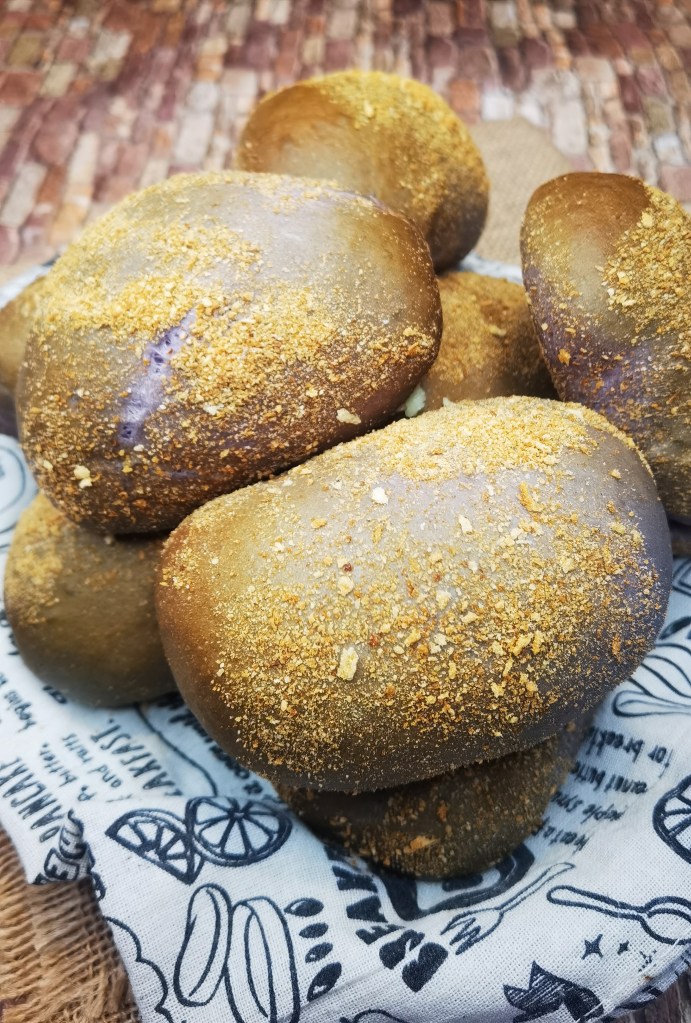
I have been making Pandesal for a couple of years already at home; there is nothing like hot, freshly baked bread to whet one’s appetite and they have quickly become one of my family’s favourite bread. Today I will be sharing with you a different flavour of Pandesal which is ube (purple yam) flavoured with cheese filling. This bread is very popular in the Philippines and a must try if ever you travel there. My plain Pandesal recipes were well received by many, and I have received a couple of private messages from people telling me that they loved it. I think this is the most rewarding part of blogging, too see people appreciating my posts and making their day at least just a bit better! I always do 2-3 times of testing on my bakes, sometimes even more than that number, before I share it to get it just right. =). If you are interested in just making plain Pandesal, here is the recipe.
Ingredients
- 530g high protein bread flour
- 85g sugar
- 9g salt
- 10g instant yeast
- 45g butter (cut into small cube)
- 125g egg (2 Large egg)
- 160g milk
- 33g ube or purple yam paste ( I used the Redman brand)
- 65g ube jam spread (I purchased mine from Lucky Plaza in Singapore)
- 40g fine bread crumbs
Filling
- 1 1/2 block of cheddar cheese about (375g) cut into 15 pieces
Note
1. I prefer to use instant yeast as it can be mixed instantly with the flour without the need to dissolve it in liquid and sugar.
2. The temperature of the ingredients you use affects the rising time of your dough, so if you are not rushing , it is best to use milk, butter and eggs from your chiller. Otherwise you need to warm the milk and let the eggs and butter warm naturally to room temperature
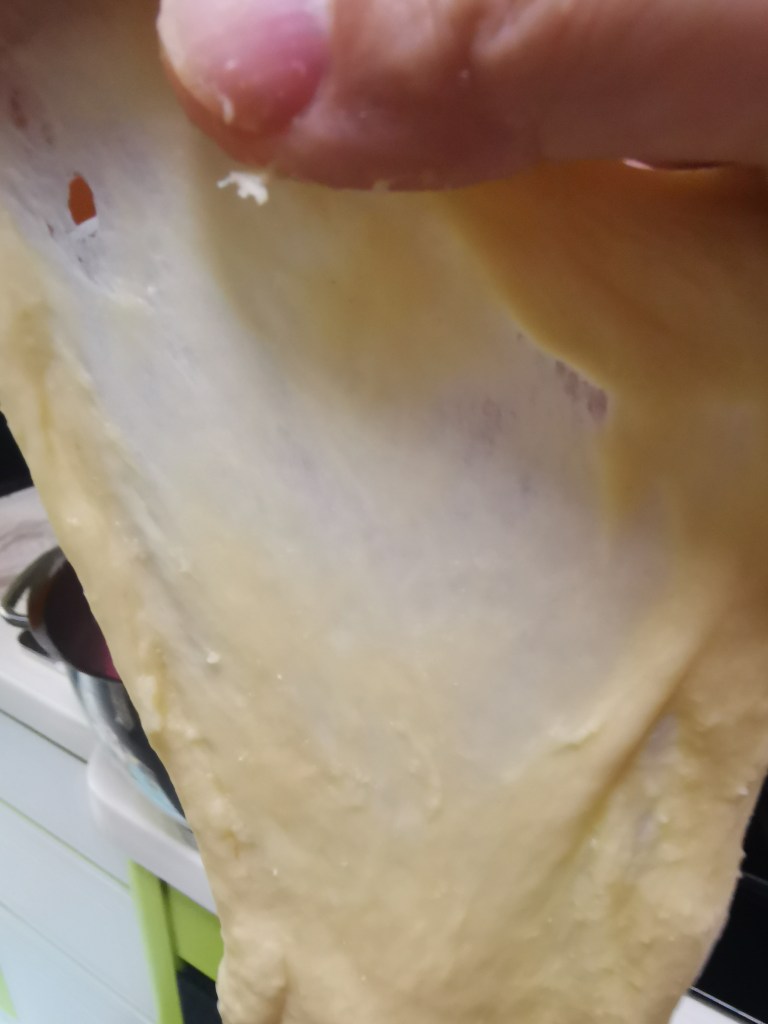
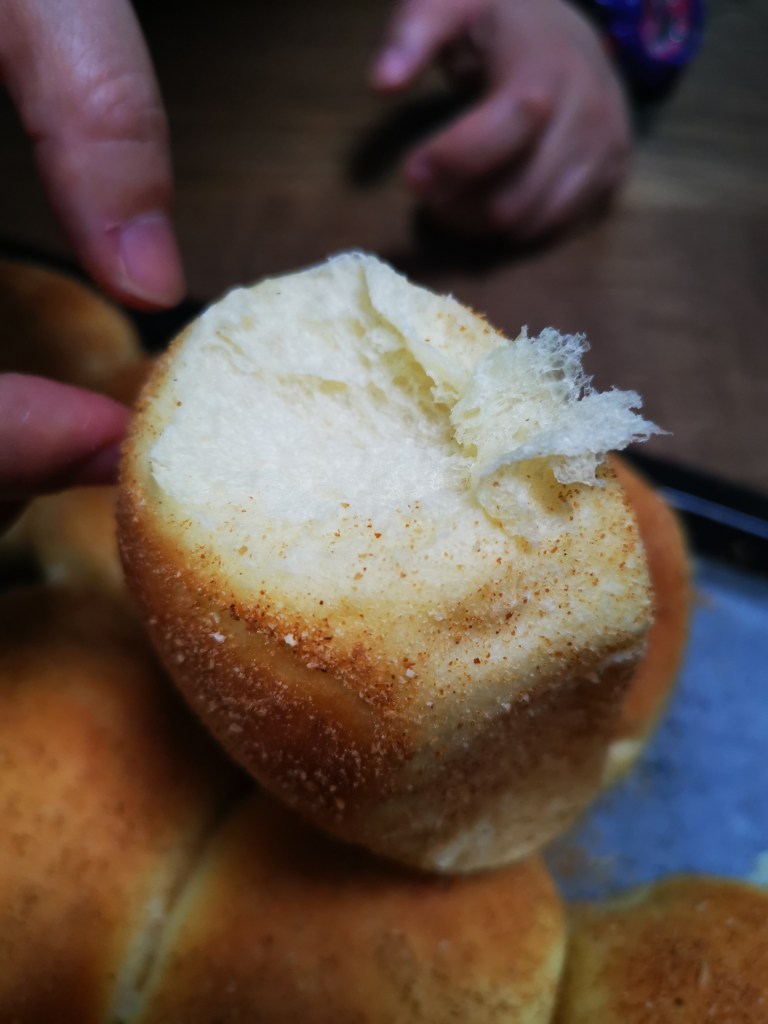
3. You need to knead the dough until gluten develops. You can check by using the window pane test ( see picture below). A fully developed gluten would make your dough stretchy and extensible therefore it can trap more air making your bread softer
Method
- Toast the bread crumbs with low heat on a pan. No need to add oil. Stir until all the crumbs are golden brown and evenly toasted. Set aside. Toasting it allows your bread to get golden in colour without baking it long therefore preserving the moisture of your bread. Blend it into fine powder.
- Preheat the oven to 180 degree celsius
- Put all the ingredients into the mixer at low speed except the butter, salt and bread crumbs. Mix for about 2 minutes until all the ingredients come together.
- Add in the butter cube by cube, increase to medium speed and knead for 2 minutes.
- Add in the salt and continue kneading for 8-10 minutes, depending on your machine. Note that you should check the dough every few minutes for the window pane test as over kneading will also cause the gluten to collapse. The dough would be somewhat sticky and stretchy so it would need a little bit of effort to pull it out from your mixing bowl. If it is way too sticky, add 1 tbs of flour slowly at a time. Note that humidity of your surrounding will affect the dough hydration.
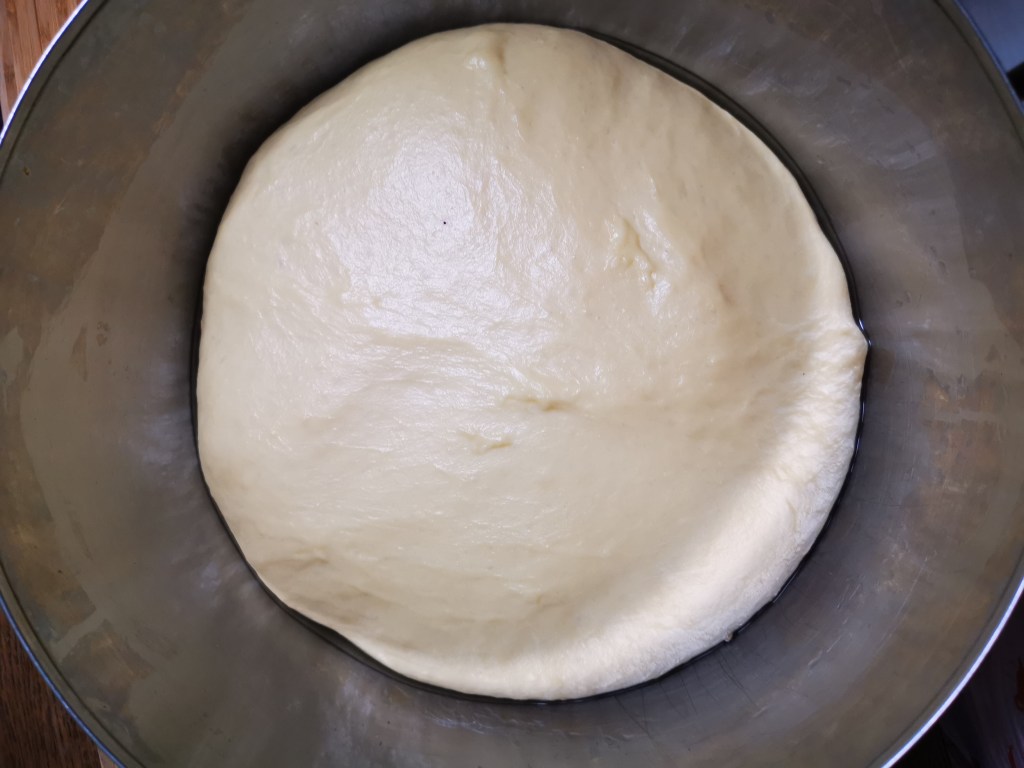
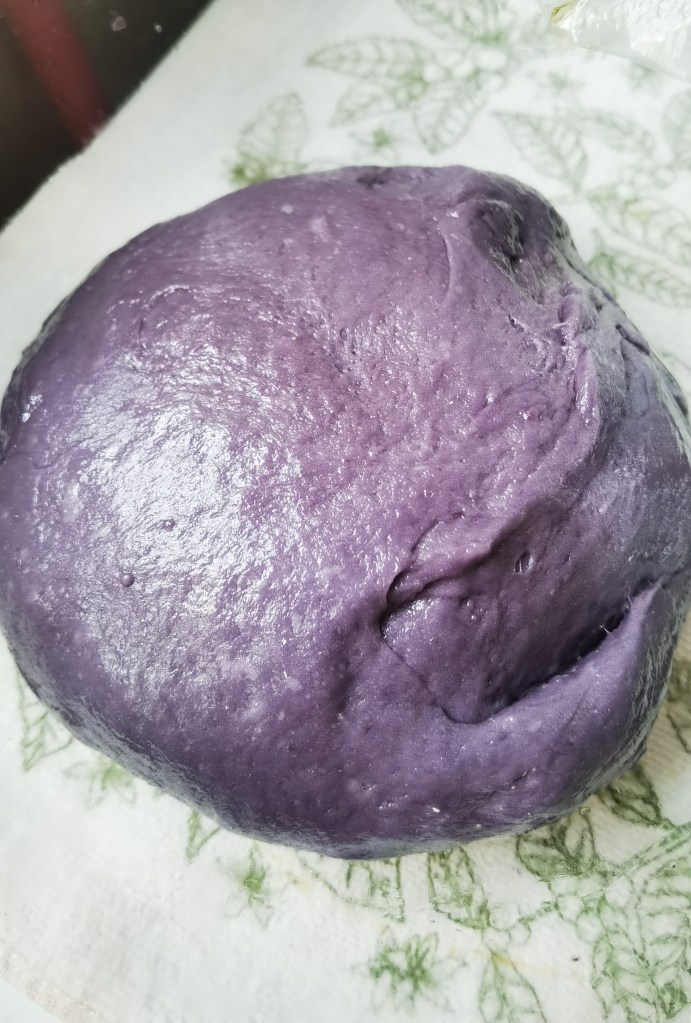
- Roll the dough into a ball and place it into an oiled bowl, set aside for about 45 minutes or until the dough rises and doubles in size. Note that mine rises to double its size in an hour and half because of the cold ingredients that I used. 45 minutes is just a guide line.
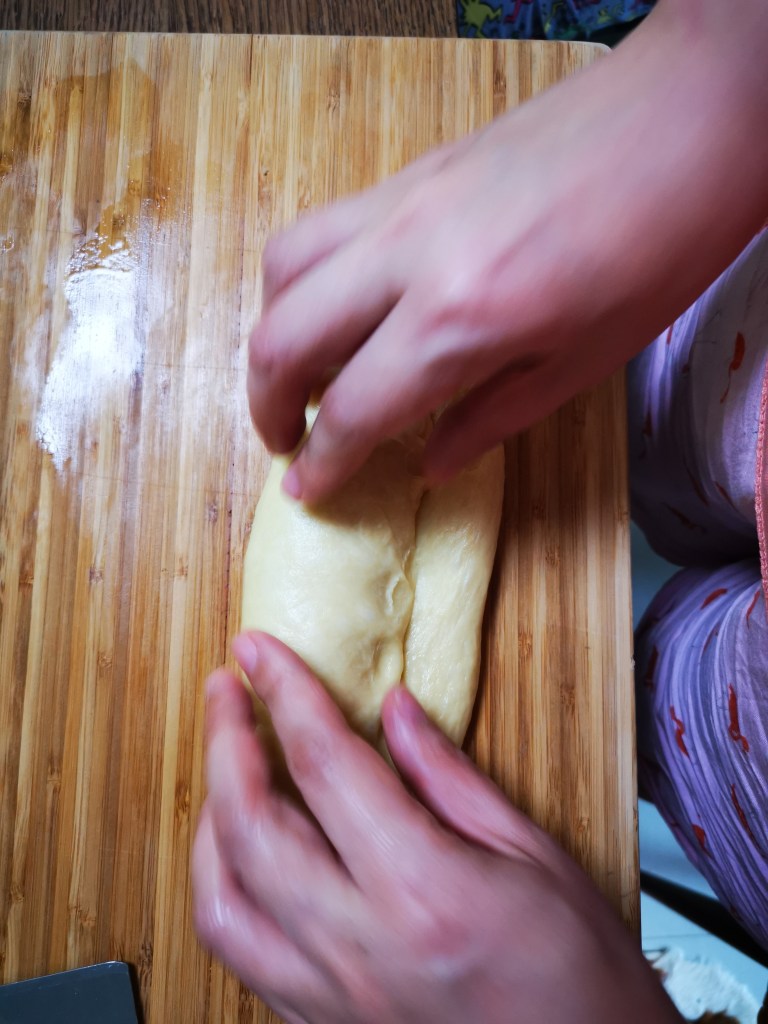
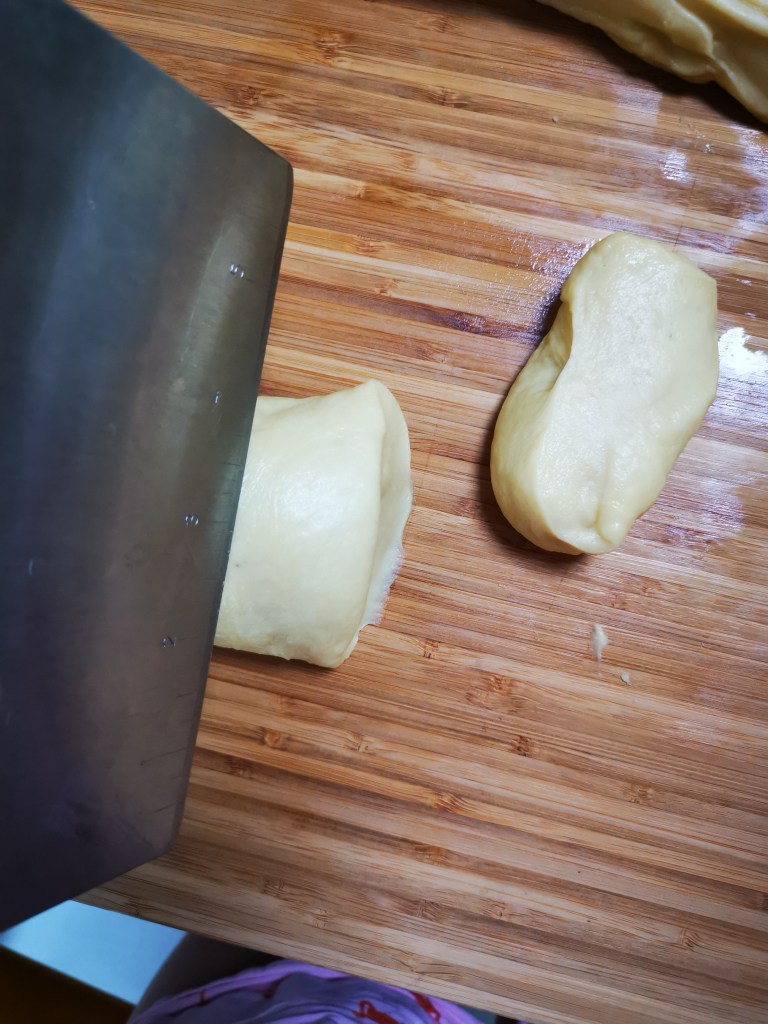
- Punch out the air in the dough, roll the dough into a log (refer to picture) and use a dough cutter to slice. I sliced 15 pieces as I prefer bigger Pandesal portions. Each bun weighs about 65g. Roll it out and place a slice of cheddar cheese in the middle and seal up the seam. Coat each slice with the toasted breadcrumbs. Note : It is better to do the coating after shaping everything.
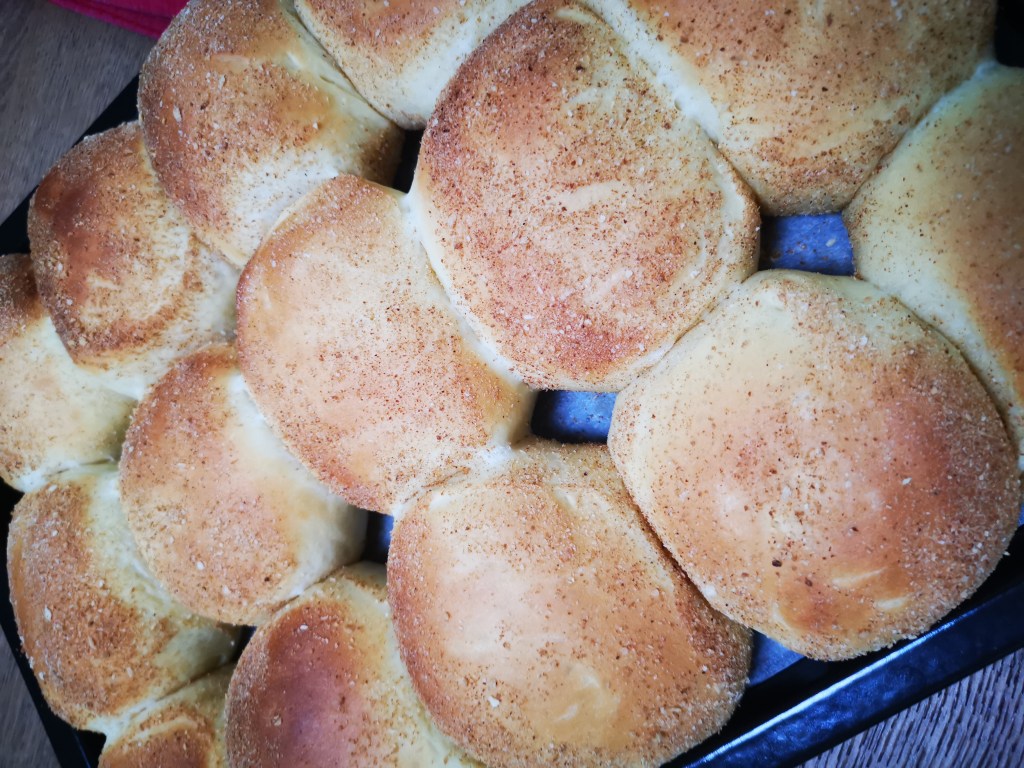
- Place each slice on the tray with baking paper with enough space for the dough to double in size. Do the the same for the rest of the slices. Cover and let it rise until doubled. Mine took about 45 minutes.
- Bake for 13-15 minutes. Turn the tray at 7 minutes.
- Serve warm
Note that you can warm the bread the next day in a preheated oven for 2-3 minutes at 180 degree celsius. I usually do it in my air fryer instead. Preheating it at 200 degree celsius for 3 minutes, then warming up the bread at 180 degree celsius for 2 minute


Note: If you are making pull-apart type, then you will need extra baking time. An extra 5 mins or more depending on your oven.