I always been wanting to try this when I saw a video in China selling different flavours of tiramisu, and one of it was berry tiramisu. I was very excited and told myself that I should make this too, because I knew I would like it since I am a big fan of berries. My kids are not into coffee so this type of tiramisu is something they would love for sure, and they did! =)
I will share the steps and ingredients so you can try to make yours in whatever size you fancy. Since I have different small size containers, I made a couple of these, to be gifted some and consumed within 2-3 days. Feel free to half the recipe if you think this is too much for you =)
Ingredients
Strawberry Syrup
- 500g strawberry
- 95g sugar
- 1 tbs lemon juice
Method (strawberry syrup)
- Use a blender and blend everything until it resembles a smoothie
- Pour it into a saucepan, cook the strawberry syrup at medium high heat. Foam will begin to form when boiling. To prevent it from overflowing, take it on and off the heat. Take note to continue stirring to prevent the bottom from burning. As it boils longer, the foam will subside and you would be able to stir it in well with the strawberry syrup. Let it boil til the mixture thicken and reduce to about a half. Set aside and let it cool, while you are preparing the other ingredients
Mascarpone Cream
- 16g leaf gelatine soaked in 100g cold water once soften pop into the microwave for a couple of seconds to dissolve. Stir and set aside
- 500g mascarpone
- 4 pasteurised egg yolk
- 80g sugar
- 400g whipping cream + 40g sugar
Method
- Take out the mascarpone and transfer it to a bowl, use a spatula to smash it to soften it a bit. Set aside.
- In a separate bowl, using a mixer, beat the egg yolk with sugar until the mixture is pale yellow, and thick.
- Add in the mascarpone at medium speed, mix well to combine, set aside.
- In a separate bowl, beat the whipping cream and sugar until soft peak. Add in the mascarpone mixture. Beat at low speed to combine all.
- Slowly drizzle the liquified gelatine while beating the mixture at medium speed. Mix until well combine then transfer it to a piping bag.
Others
- 2 packs of lady finger
- 125g blue berries
- 500g yoghurt drink (mixed berry flavour), pour onto a dish
- square or rectangular container / dish
- extra 300g strawberries (chopped)
Assembly
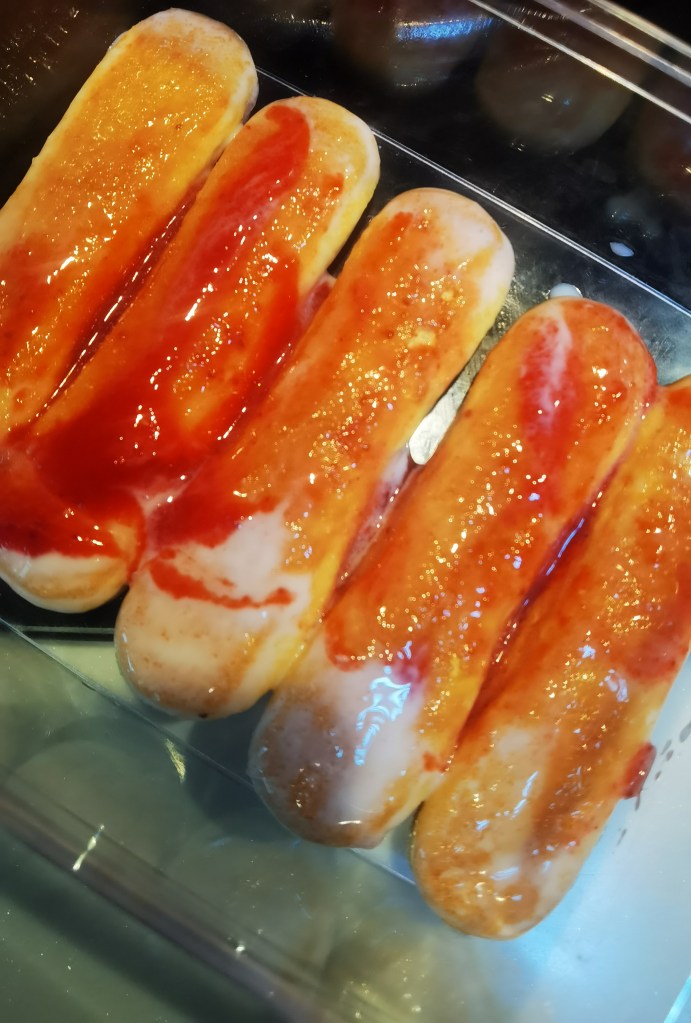
- Dip the lady finger into the yoghurt drink , dip both sides, just a quick dunk.
- Place it on your container . Do this for the first layer
- Brush the top lightly with strawberry syrup
- Pipe the cream mixture on top and spread it evenly
- Do another layer of lady finger same as above step
- Brush the top lightly with strawberry syrup
- Pipe the cream mixture on top and spread it evenly
- Pour the strawberry syrup on top , use the spatula to spread
- Chill it at least overnight
- Next day, scatter the chopped strawberries and blueberries on top. Serve.