Our family loves flaky egg tarts, so I will store some frozen egg tart shells in my freezer in case we would have cravings as I am too preoccupied usually to make it from scratch. Aside from that, making the dough in a very hot weather like Singapore would be quite a challenge. The last time I made it was several years ago. I was too happy with the outcome and had the photo printed in a canvas which I hung on my wall (LOL). That was my first flaky egg tart made from scratch. The recipe I used to make these egg tarts is the same one I used years ago. It was adapted from 台湾的杜佳颖老师.
Her recipe is very good, though I slightly reduced the amount of sugar added.
Ingredients
- 14 pieces frozen egg tart shell
- 80g egg yolk
- 60g sugar
- 125g milk
- 250g whipping cream
Note : You may use puff pastry in case frozen egg tart is not available in your country. Use a ring cutter a little bigger than your aluminium cups or muffin tray, and gently mould it in. Avoid twisting the cutter when cutting the pastry or it will seal the edges of the tart. The puff pastry has to be thawed in your refrigerator prior to using. You also need to poke holes on the pastry using fork, not just the bottom but also the sides.
Method
- Preheat the oven at 230 degree celsius
- Lightly simmer the milk until all the sugar are melted. Do not boil. Take off from the heat. Add in the cream, set aside.
- Whisk the egg yolk well and mix it into the liquid mixture. Whisk until all are well combined
- Sieve the mixture. This will ensure that you will have a smooth custard.
- Fill in the tart mould
- Bake for about 20 minutes. Turn the tray after 10 minutes. The burnt parts on top will automatically occur during baking.


simmering the sugar and milk 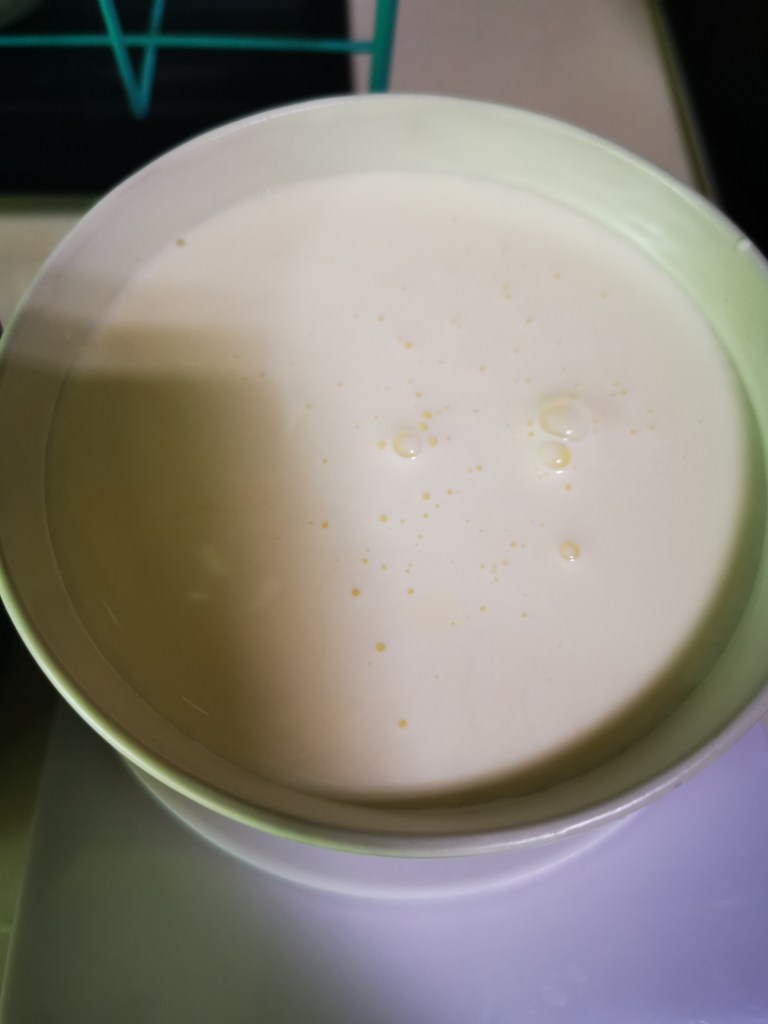
added the cream into the simmered sugar and milk liquid 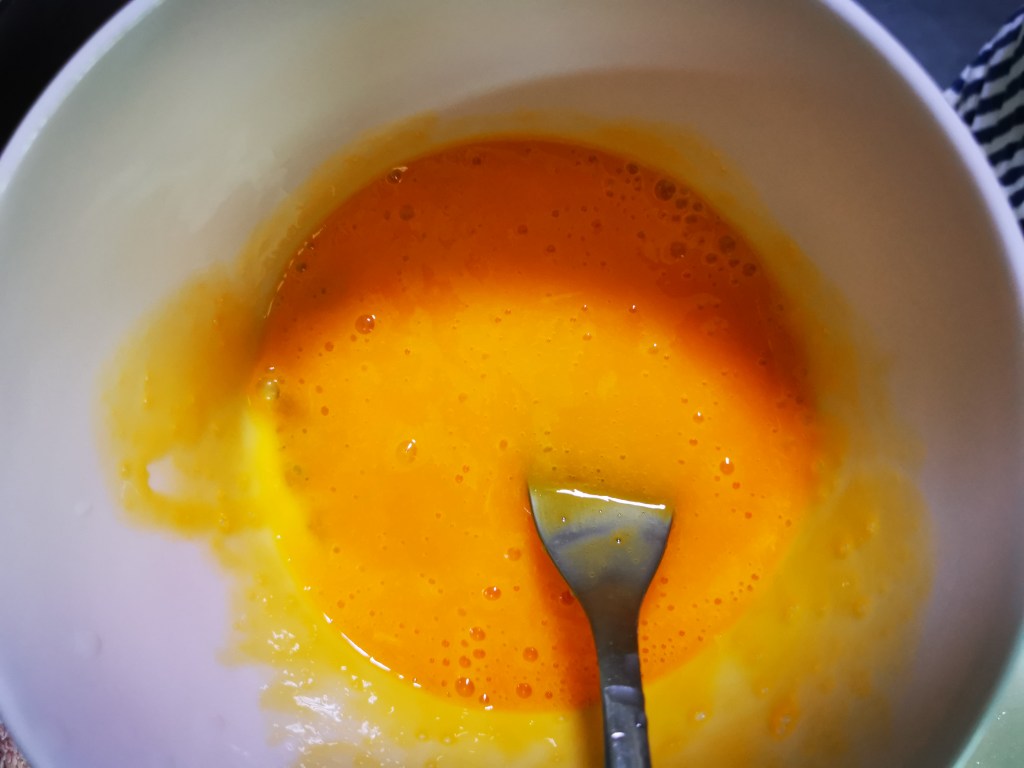
whisking the egg yolk 
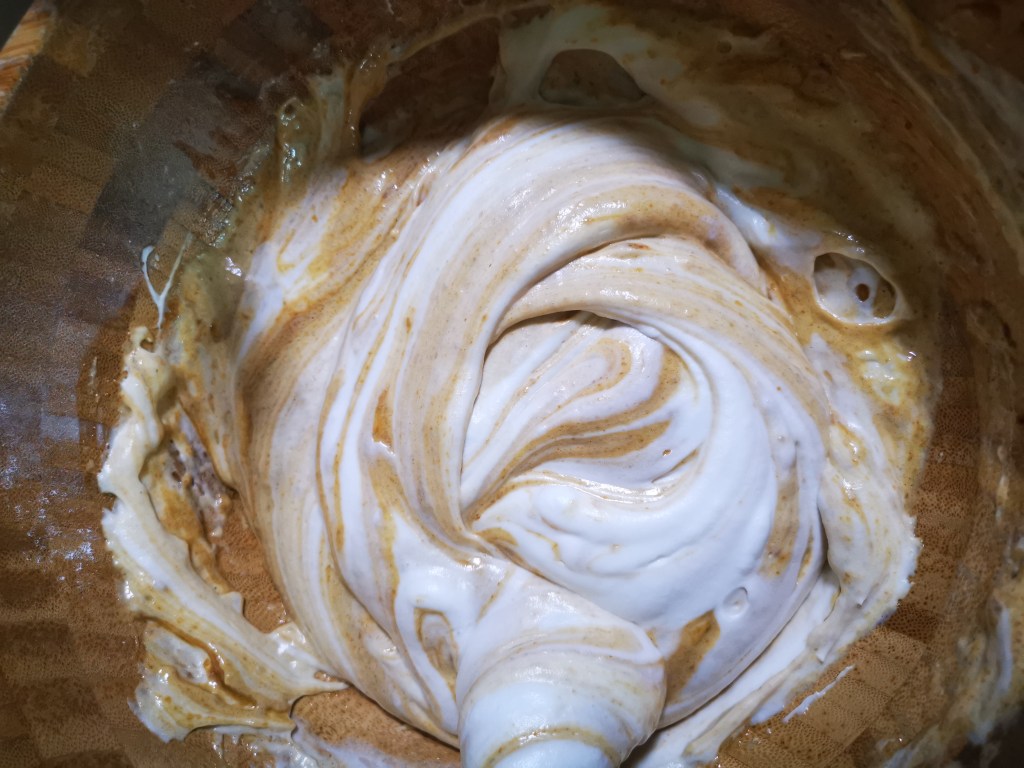
added the egg yolk into the liquid 
all the ingredients are well combined 
sieving the mixture 
filled tarts 
after baking 
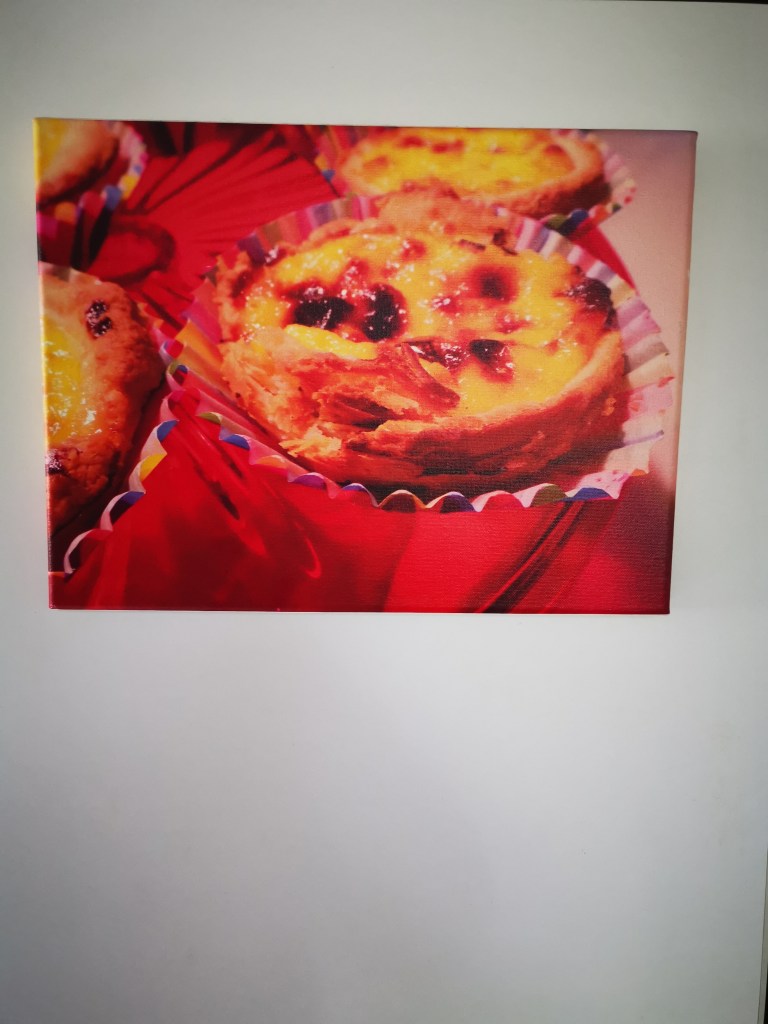
This was the one I was referring to, the first Portuguese egg tart I made 5 years ago from scratch. See the flakiness ? 🙂