My first vegan bread turned out to be satisfactory. I didn’t expect it to be this soft without egg and dairy. Today I did another test bake and it turned out still nice and fluffy even though I slightly lower the hydration. My first loaf was a bit more wet so for a new baker, handling the dough might be a bit difficult. So with the second loaf I made a slight adjustment. The dough is still a bit sticky so you would need to lightly flour your work area to roll it out; refer to picture below. Take in mind not to put too much flour as it will absorb moisture, leaving it drier.
I can say that this recipe is a keeper! It is delicious and healthy. My son told me that he never thought a vegan bread would taste so nice. Of course I was happy to hear that. I have posted my first bake on a Facebook group, and promised that I will share the recipe, that is why I made the second loaf as soon as possible. I always keep my promise and will gladly share to anyone who is interested. I am not a professional blogger, just blogging it as reference for my family, friends and anyone who came across my post and interested to try. =). Let me know if you tried my recipe, ok ? =)
Ingredients
- 300g high protein bread flour (Bob’s Mill Artisan Bread Flour)
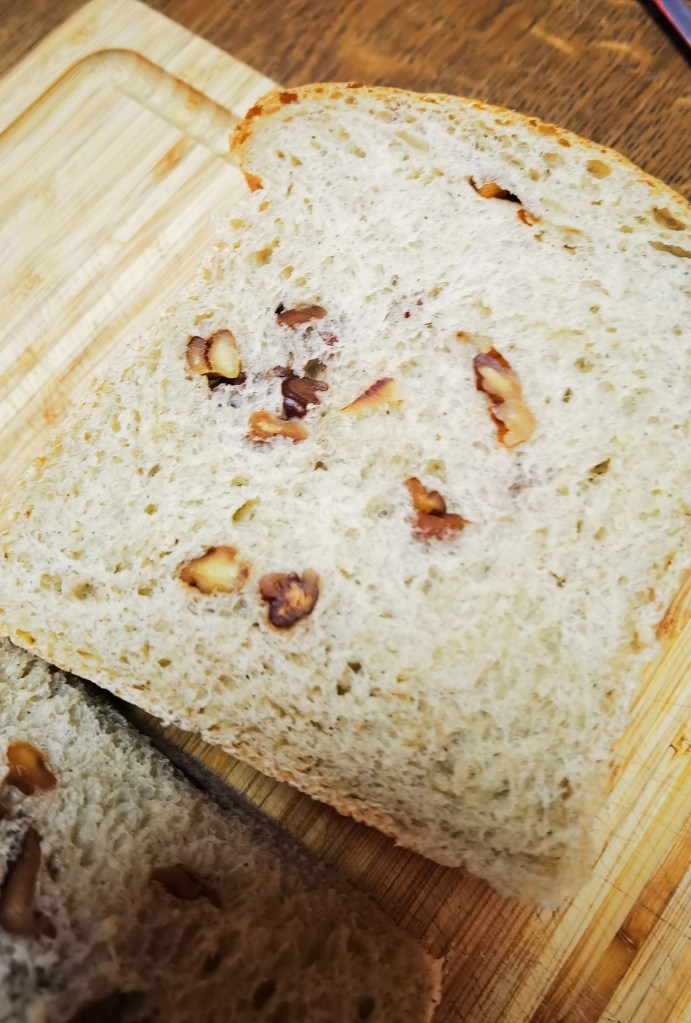
- 40g roasted walnut
- 25g sugar
- 3/4 tsp cinnamon (if you want it stronger, you may add a tsp)
- 125g mashed banana (over riped)
- 3g instant active yeast (See note below)
- 120g unsweetened oatmilk
- 35g Nuttelex Buttery Spread with coconut oil ( dairy free butter) + extra for brushing before and after bake
- 3g salt
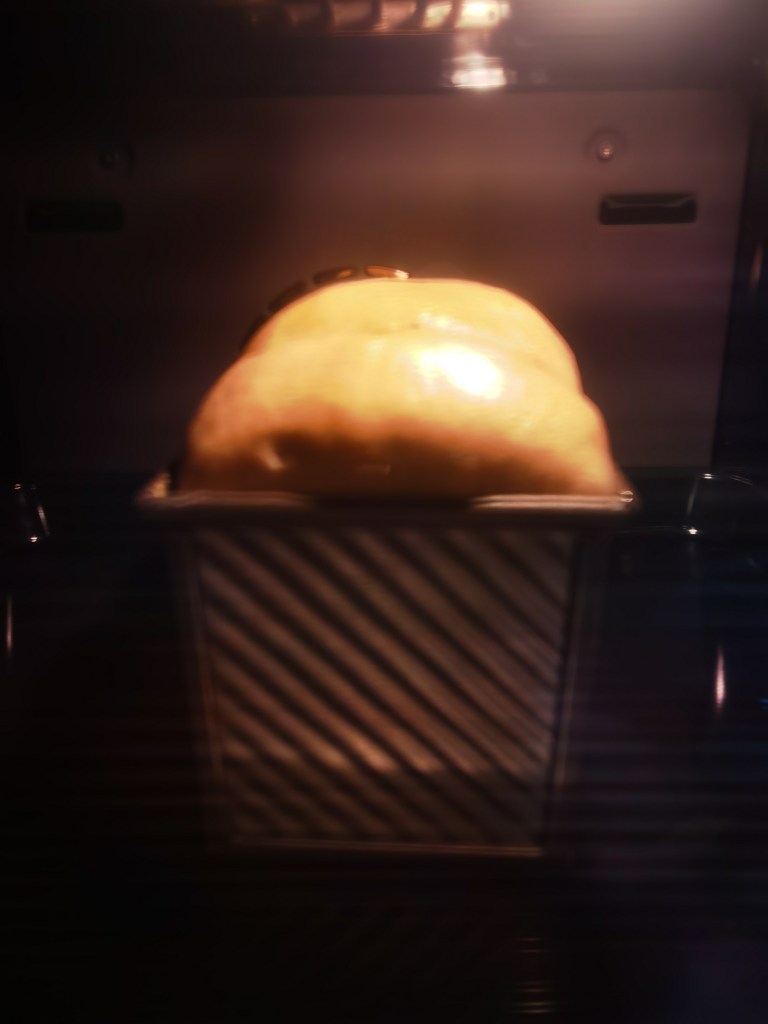
Note 1: For the yeast I usually like to use Saf-instant brand. This brand always gives me tall bread. I have tried other brand which I think doesn’t have high sugar tolerance resulting to a very very slow rise. I have came across people telling me that their bread doesn’t rise tall even if the yeast wasn’t expired; most likely that was the reason. Those kind of yeast will work better with low sugar crusty bread. Saf instant can be bought from Fairprice. For this recipe I would suggest you to bake without lid, to allow it to rise higher. During baking, the dough would still rise a bit. =) .
Note 2: For the bread flour, I would suggest to use bread flour that has a high protein content, this type of flour would be able to handle high hydration better. I am using Artisan Bread Flour (Bob’s Mill) . Thus if you are using other flour the dough might be way too sticky. Thus you will have to reduce the liquid content by probably 20g-30g, depending on your flour. I would suggest for you to use the same flour as what I used because that is what I tested with. Local brand such as prima bread flour is definitely not a good option for this recipe.
Other
- Foil for tenting
- Non- Stick Bread loaf Pan (19.5×10.3×11.3cm)
Method
- Preheat the oven at 180 degree celsius
- Add all bread flour, cinnamon, yeast and sugar into the mixer followed by the oat milk and mashed bananas
- Use the J hook to knead the dough at low speed. Knead until dough is formed
- Add in the butter and knead for about 2 minutes at speed 2 ( low speed)
- Add in the salt and continue to knead at speed 2. Knead until you reach window pane stage. The dough will be sticky and soft.
- Lightly flour your area, then divide the dough equally into 3 doughs and roll it into a ball. You may add a little flour on your work area if still sticking a lot. Just take in mind to do it little by little and a little stick is fine =) . Cover and let it rest for 15 minutes.
- lightly flour your work area then roll the dough to rectangular shape, about 18x30cm (roughly the width is the same as your tin’s width), flip the dough then sprinkle some walnut inside. Roll it tightly as possible. Then place it inside your tin. Note: Sprinkle a little flour on your hand, then spread it gently on your rolled dough before putting it into your tin pan, this extra step is to prevent your dough from getting stuck in your pan after baking. Do the same process for the remaining two doughs.
- Cover and let it rise till about the rim of the tin. This will take about 45 minutes to an hour, depending on your weather and humidity. For cold countries it will take longer. Placing a cup of steaming hot water inside the oven for proofing shortens the time =).
- If you see the top forming a big bubble. You may use the tip of the sharp knife and gently pop it. Then brush the top with non dairy butter. Do it gently
- Bake for 30 minutes . I bake mine at the second to the lowest rack. Tent the bread with a foil at 15 minutes to avoid from the top getting too dark
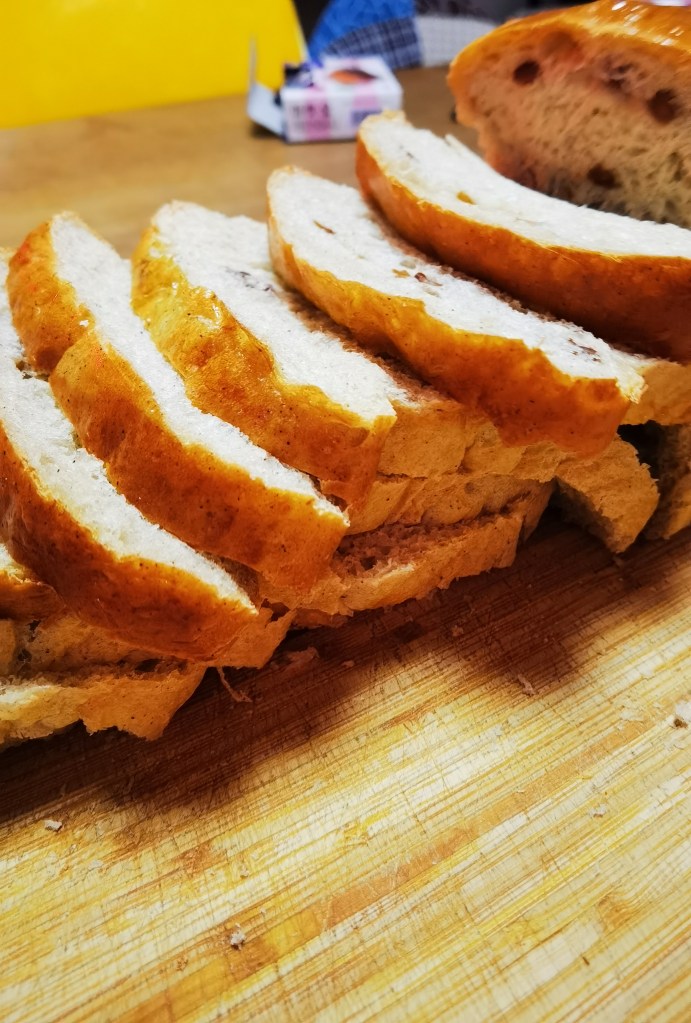
- Transfer the bread on a wire rack, spread some melted non dairy butter. let it completely cool down before slicing, about an hour and half.
- Store it in a GOOD air tight container.
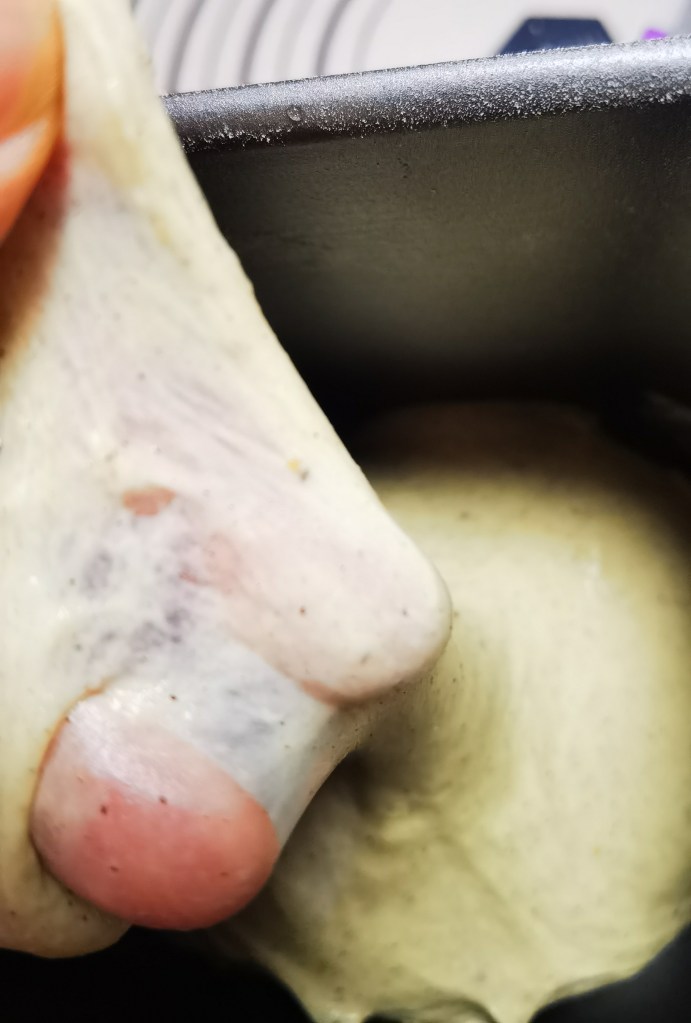
stretchy and window pane 
somewhat sticky 
lightly floured area 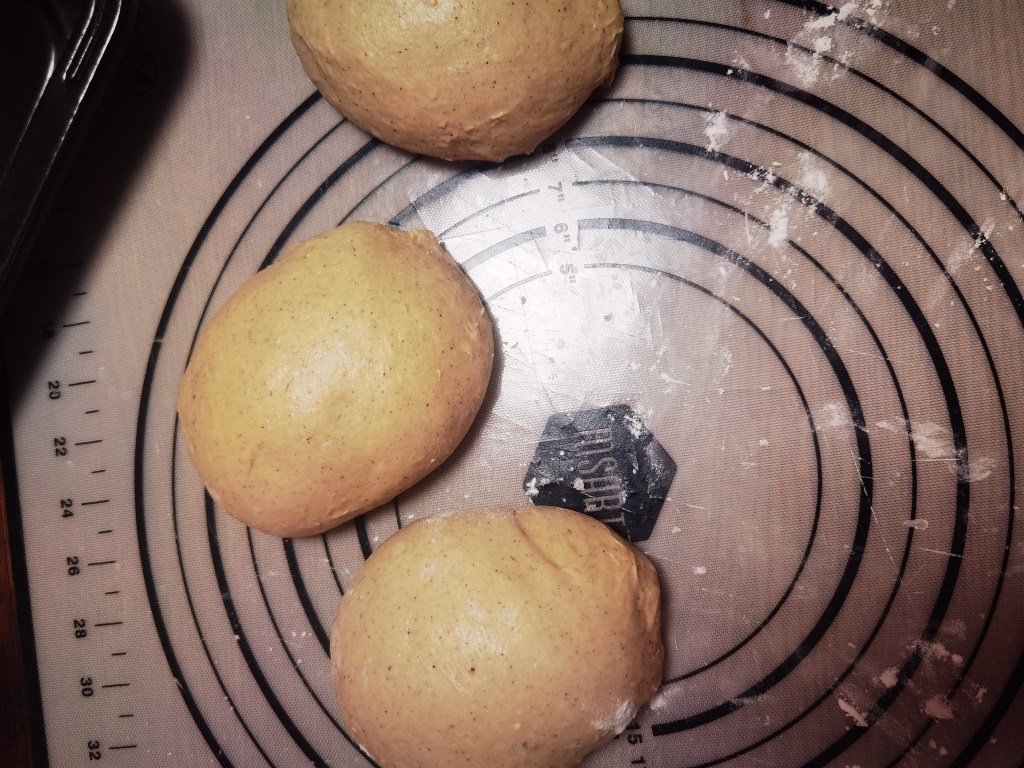

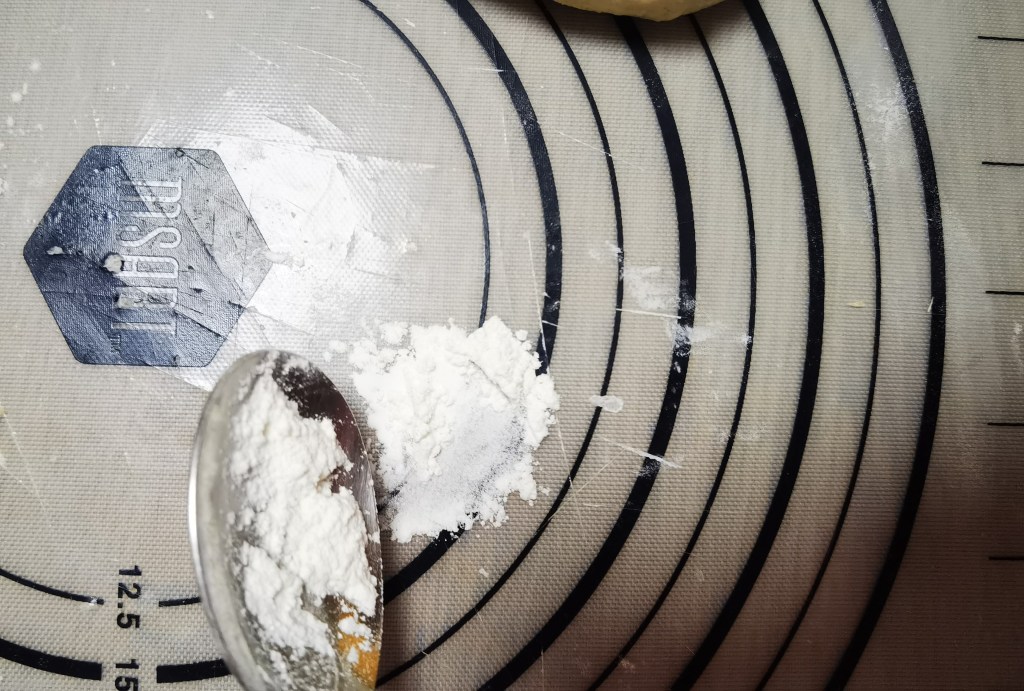
adding little by little flour as needed 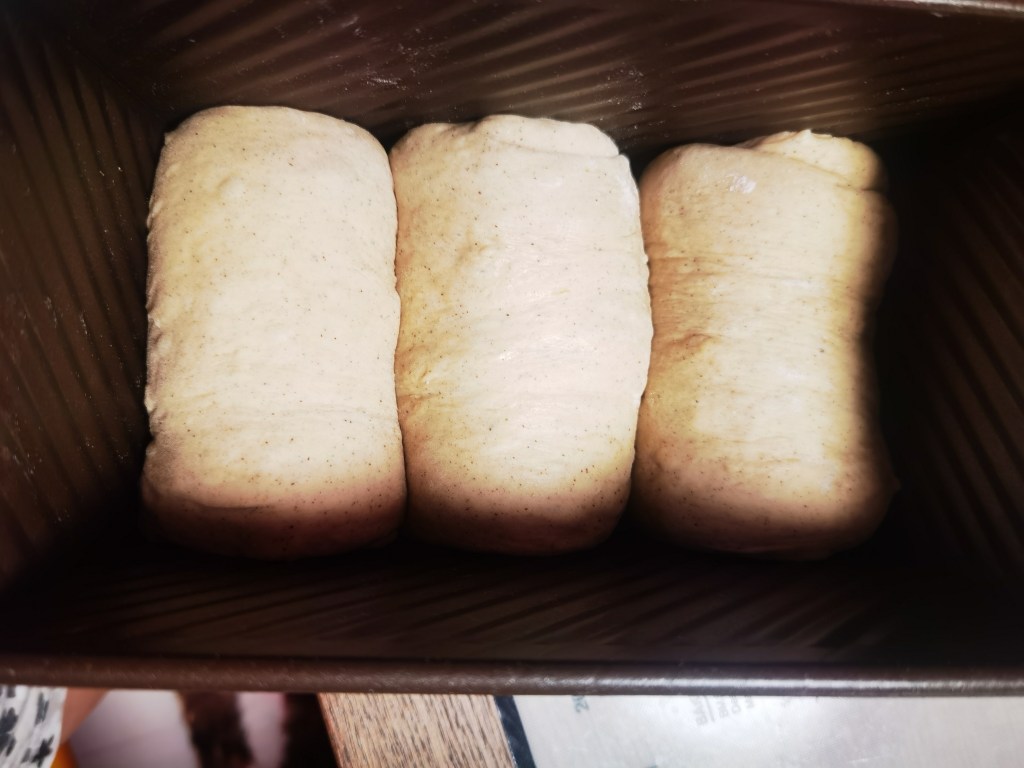

tent not cover 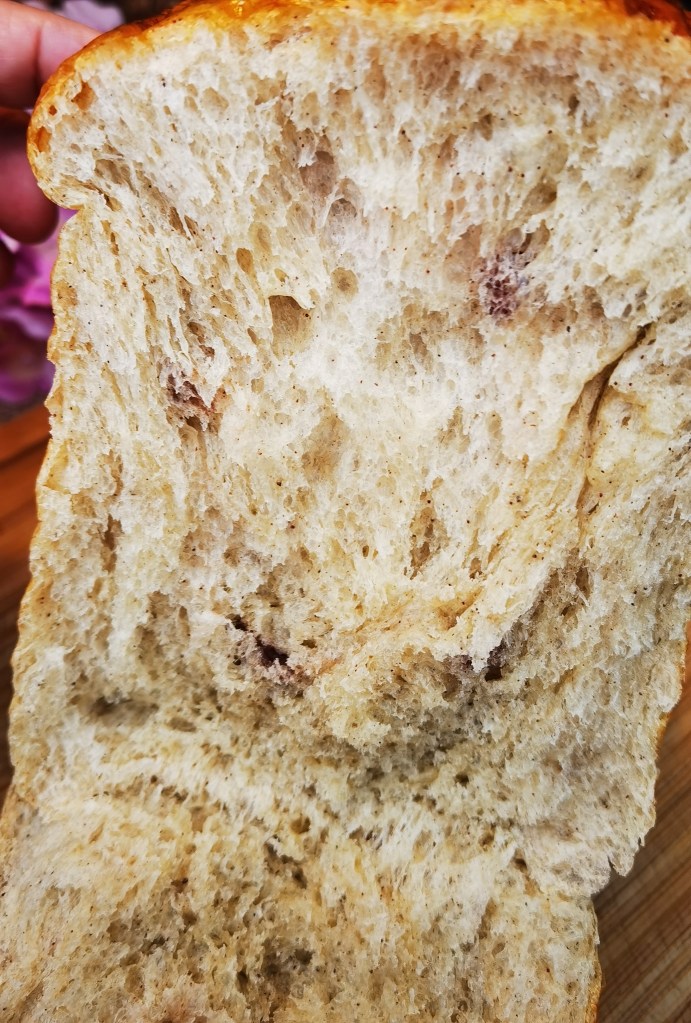
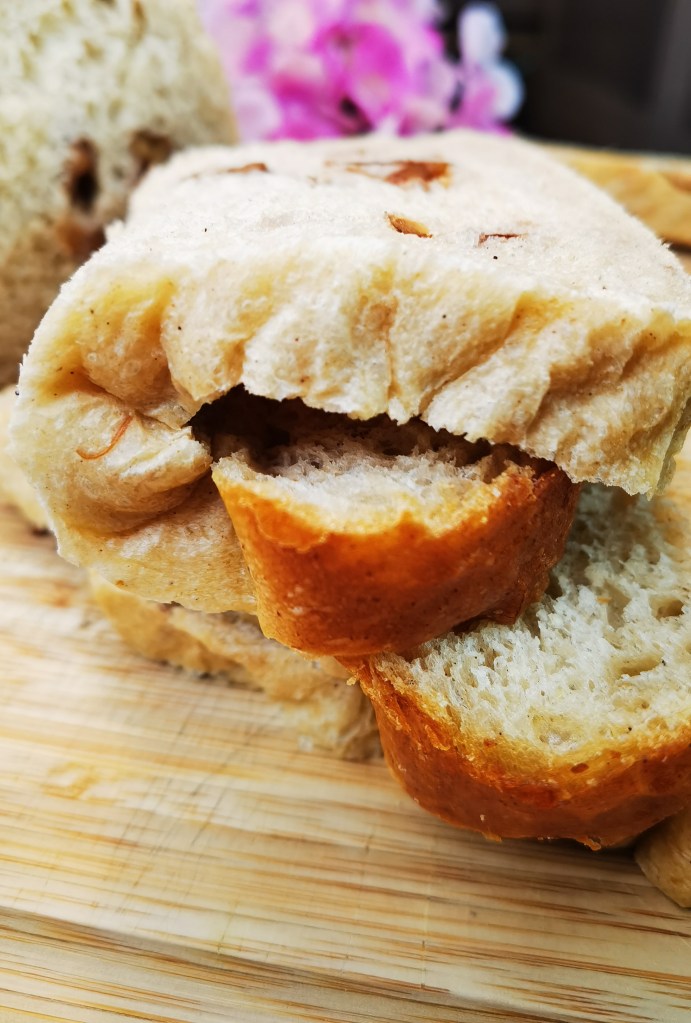
strandlike = very soft and fluffy 
yoga pose